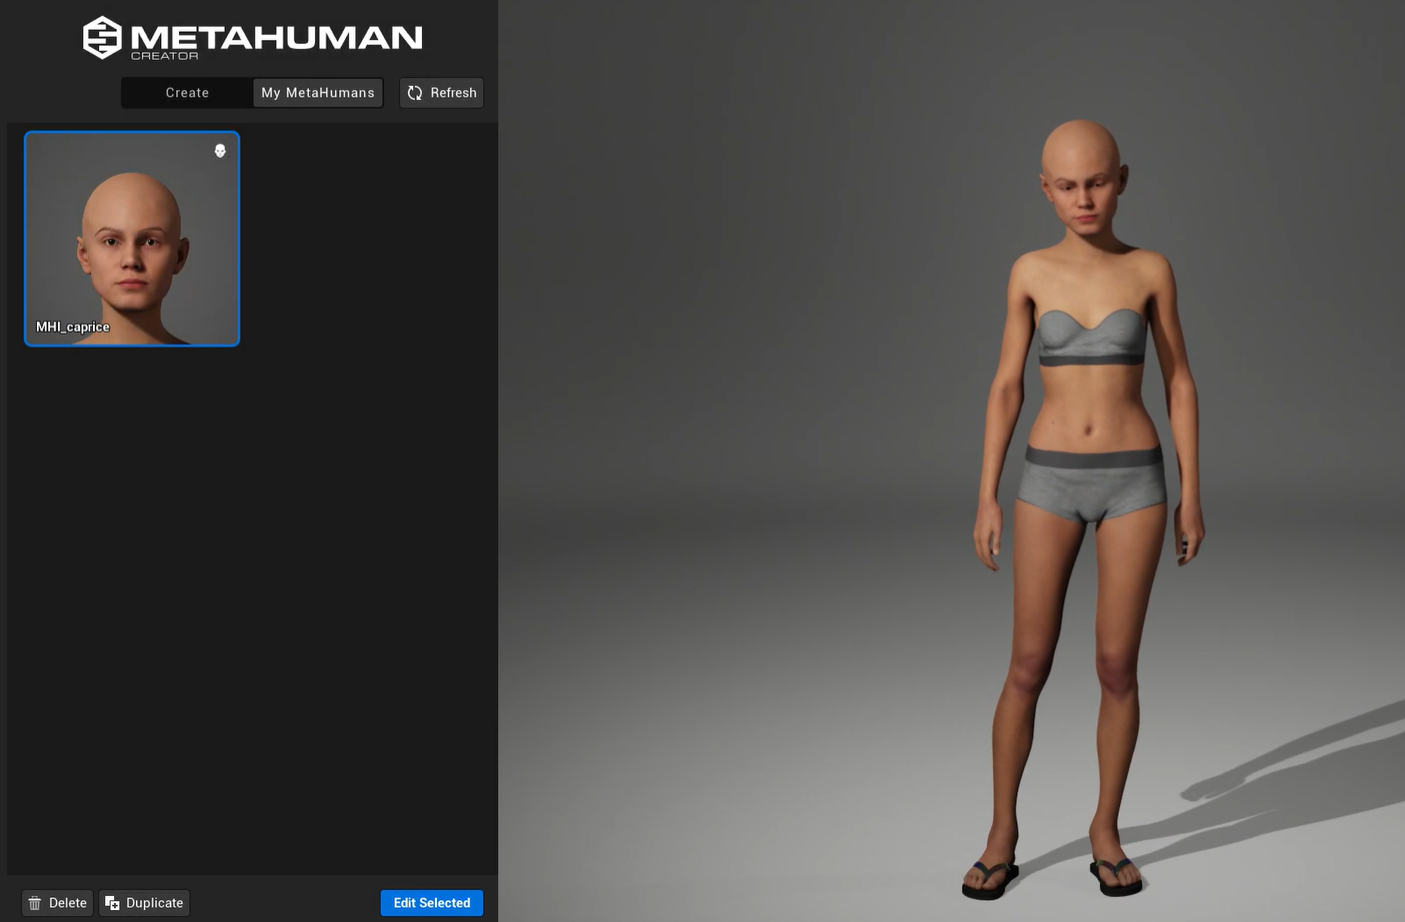
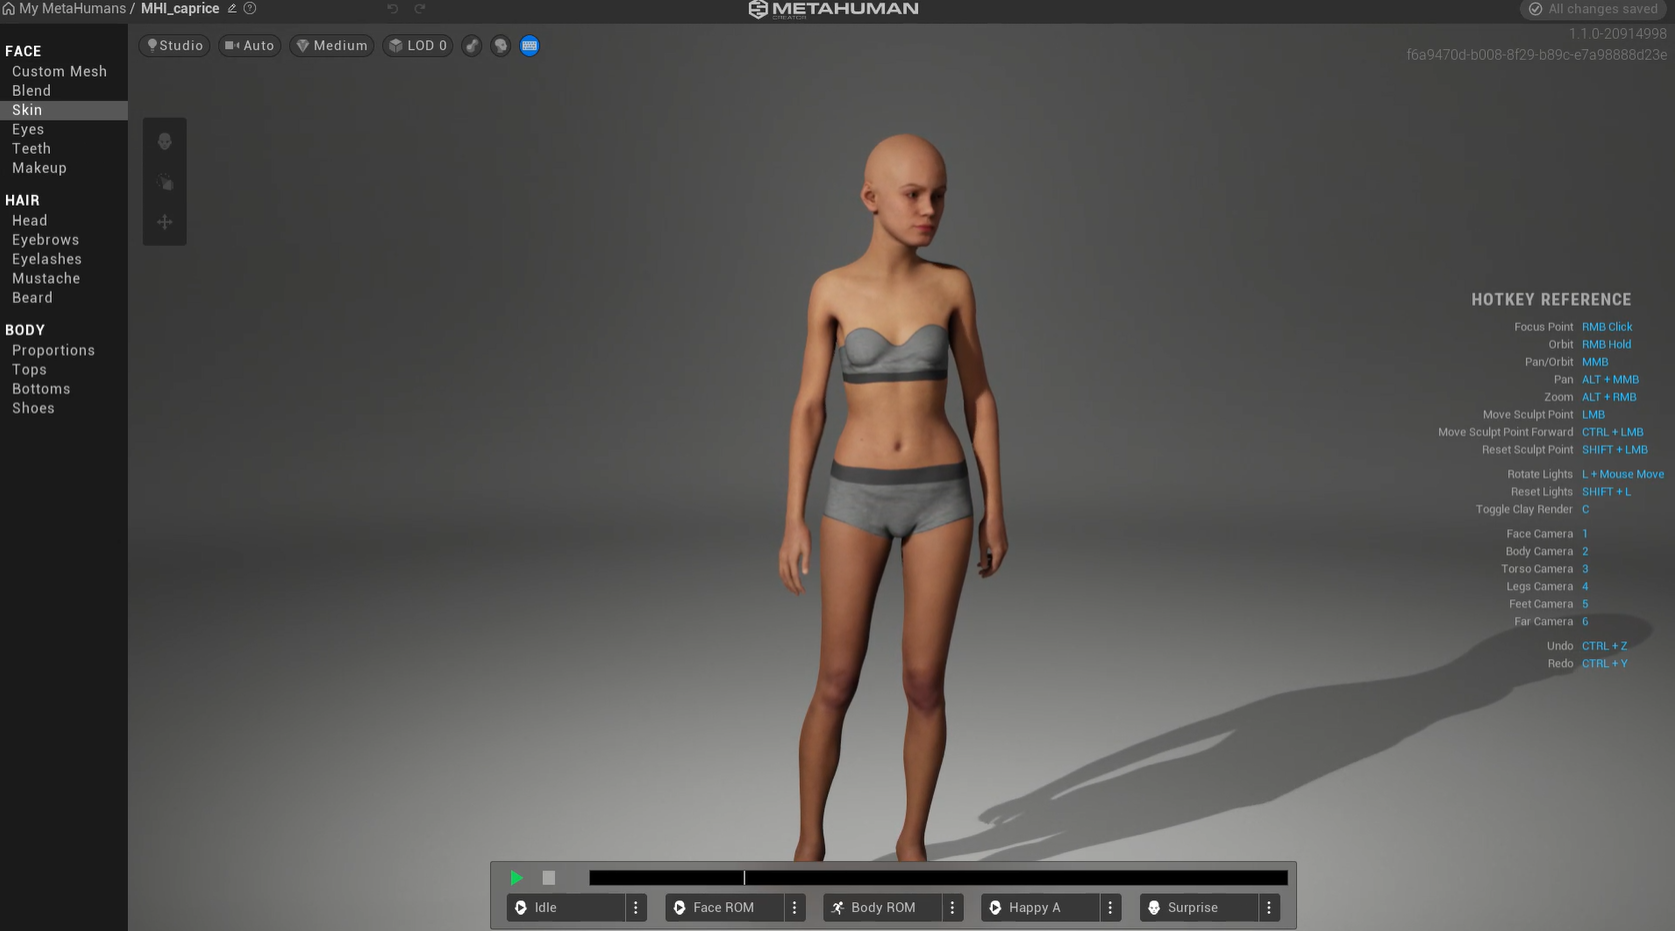
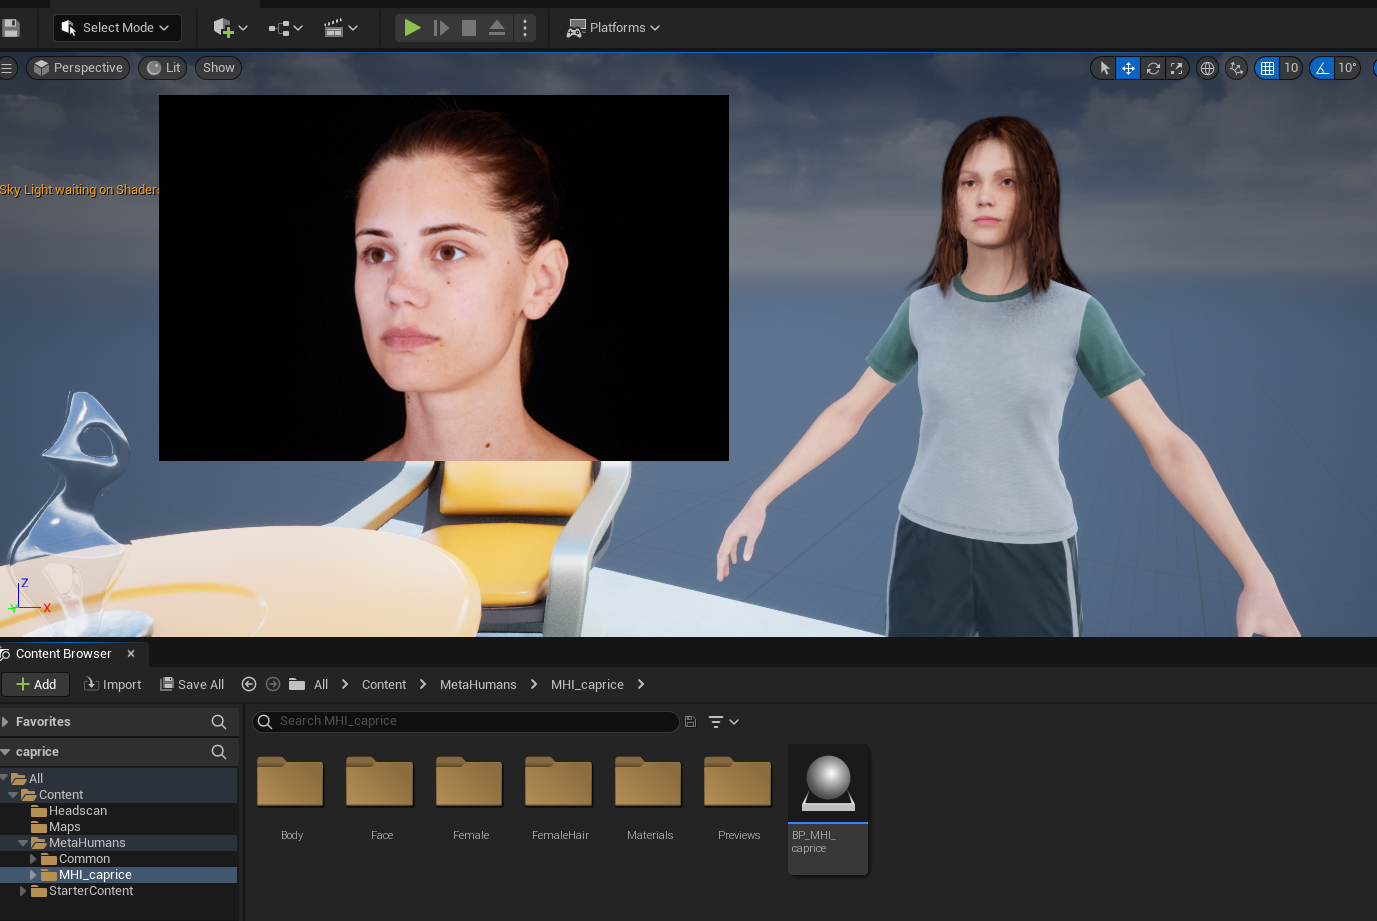
At the end of the last guide, I’ve sent the data across to the Metahuman website – metahuman.unrealengine.com logged in with my epic games account.
Another thing that I’ve done is I’ve updated Unreal Engine to version 5.0.3 from 5.0.2
This takes some time to download and install but it's good at this stage to update to fix all the known bugs from the initial release.
My epic games launcher dashboard is pictured right top. (Image 026)
My metahuman website dashboard showing my metahumans is pictured right bottom (Image 027)
Before we go in an modify our metaHuman – go back into Unreal Engine and open the Quixel Bridge window.
WINDOW > QUIXEL BRIDGE (Image 028 - Right Top)
A new window will open showing the ‘Quixel Bridge’ Content Application from within Unreal Engine. (Image 029 - Right Bottom)
You will see the Metahumans available for you to pull into Unreal Engine, but the one I’ve created isn’t showing – that’s because I am not signed in – so sign in from the top right and wait for your profile to load in, you should see ‘My MetaHumans’ appear with the custom one you’ve built now as your content.
With this finalized we now have a 'bridge between the MetaHuman website and the MetaHuman Application within Unreal Engine' to interoperate with each other.
I will leave this portion here and go back to the MetaHuman Website to tweak my Avatar, since the Avatar is online it will be updated in real time.
Back at the the dashboard of ‘My Metahumans’ (Image 027), I can see from the outset that my head is too large and looks funny, we can tweak this quite simple enough. Select your metahuman from the left side and there will be an ‘Edit Selected’ button in the bottom left of that panel, which opens the creator studio for you to modify settings. (Image 030 - Right Top).
NOTE: I’m not going to write an indepth piece about what to change, it’s quite straight forward on what to do here, select each section on the left and play around with the buttons and sliders and get it to match. (Image 031 - Right Bottom)
Then after you’ve done that move onto the body height – short, average, or tall then the shape is represented by the images. If the head seems too large you use the Head scale slider to adjust.
From there you can choose the clothes, and after all this is done you should be able to go back to Quixel Bridge inside of Unreal Engine and your Custom Avatar should be updated accordingly. (Image 032 - Right Top)
Select the head of your avatar and on the right select the “Highest Quality”, then hit the download button and wait for it to generate – mine took around 15 minutes. (Image 033 - Right Bottom) – After you’ve downloaded the asset – the ‘+’ becomes available for you to ‘Add’ to your Unreal Engine Project – so click to add.
In Unreal Engine I have select my ‘Headscan’ folder open which contains my original scan and my MetaHuman Blueprint asset which we did in the 2nd part of our guide.
NOTE: I ended up having to create a new ‘Basic’ map level for the ‘Add’ button to work.
Another error message that popped up, pictured Right (Image 034 - Right Top) – These are plugins you can get from the marketplace to bring into unreal engine for further playing around. Like the topic of another set of tutorials in the future.
You’ll notice now a MetaHuman folder now within your project – inside will be your custom avatar. All you need to do is drag the Blueprint (BP) of your avatar into the scene. (Image 035 - Right Bottom)
You’ll also see several different subfolders containing all the relevant information for your avatar.
NOTE: I ran into a texture display problem, but it’s likely a graphics driver issue, I was getting an nVidia graphics driver update prompt when I start Unreal Engine.
Well that will be it for our Customised Avatar Series – as we find metaverses that allow us to include these avatars in we will look at that as those platforms emerge – in the meantime you might want to look at some of the blockchain guides in the Metaverse Content section of the site.